
Тема: Ошибка 03 инфо на КТ30А синус — mxus XF19R
Прочитано 442 раз
0 Пользователи и 1 Гость просматривают эту тему.
02 Апр 2023 в 17:06
Прочитано 442 раз
![]()

kolecha
Сообщений: 4
Здравствуйте. При сборке и проверке возникла проблема в виде ошибки 03 info. Почитал где нашел возможные причины: но ясности не дало: менять датчики хода или контроллер.
Началось с того что при первом подключении аккумулятор-контроллер щелнули контакты(колеса ещё не было). После подключения колеса, при отклонении курка газа колесо еле крутило только в одном положении курка. В дальнейшем включении, просто, ошибка 03 при газе. На другом коплекте компьютера и ручки газа тоже самое.
Подскажите направление. Новый контроллер (потому что разбираться в нем точно не стану) или датчики хода. Ну, или ещё что.

07 Апр 2023 в 16:34
Ответ #1
![]()
kolecha
Сообщений: 4
Уточнение проблемы: мотор крутит в небольшом интервале положения газа. Вращение сопровождается небольшими рывками и 3 последовательными челчками ее ждый оборот(источник не понятен). Имеется положение, после останова, при котором ошибка 03(неисправность мотора).
Датчики пас новые впаял по диаметру (кроме 4-го, скорость который вроде мерит). Была работа по перепайке разъема(с 3 проводов фазы и разъёма, на1 общий разъем, по цветам проводов)
07 Апр 2023 в 21:29
Ответ #2
![]()
racer
Беларусь ,Слуцк
Сообщений: 325
Где-то слышал что синусные могут не подойти к редукторному.Себе поставил обычный на 25а новый проблем нет.
08 Апр 2023 в 12:26
Ответ #3
![]()
Равиль
Удмуртия
Сообщений: 186
на редукторниках на синусе много проездил и пробовал подключать разные -проблем не было ! 
10 Апр 2023 в 07:50
Ответ #4
![]()
kolecha
Сообщений: 4
Да, заказал новый контроллер… Но что то думаю не в нем дело. А что за щелчки могут быть 3 последовательных на каждый оборот. Частота зависит от оборотов, явно совпадает с датчиками хола.
10 Апр 2023 в 08:01
Ответ #5
![]()
newsky526
Латвия, Рига
Сообщений: 2918
Вот посмотри видео,там всё просто рассказано,как проверить холлы.
10 Апр 2023 в 08:19
Ответ #6
![]()
classicmen
Казахстан, Алматы
Сообщений: 203
Да и не мешало бы попробовать перебор фазных и датчиков холла проводов. Не всегда они совпадают по цвету.
18 Апр 2023 в 15:22
Ответ #7
![]()
kolecha
Сообщений: 4
В общем, по тихонько обмотка слыхала, щелчки видимо пробития звук. Сейчас вообще встал. При проверке мегаомметром на корпус прошивает.
Help! KT LCD3 eBike display «info 03» error
-
Thread startermxer
-
Start dateApr 9, 2021
-
#1
My apologies for posting as I have tried to search this issue..
I have a new display module kit KT LCD3 36V complete kit so basically just had a battery and motor on the bike to connect this kit too..
The motor has a fancy all in one 9 pin connector.
I have followed the wire colours from the new controller hall and phase to this 9 pin wire spliced.
So basically everything is plug and play (throttle,Pas,brakes etc) except the 3 phase and 6 halls which I have colour coded soldered.
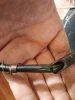
The bike turns on normal (even shows motor temp) pic, but as soon as I throttle up I get an error code? (Info 03) pic. The manual shows «motor hall signal abnormality»..
I get a nice firm click on the 9pin connector at the motor and pins look fine and arrows line up fine?…
Is there a possibility that the motor hall and phase could be wrong even though I have match the coloured wires hall and phase correct?.. it’s the only thing I can think of that’s the problem (will I Hurt the motor mixing wires ie green to yellow etc??..)..
I get nothing from the motor at all not even a grown or a twitch! I hand spun the wheel backwards to reset the halls but nothing!..
Wheel was working fine before I had a bad cheap non digital display!..
Any ideas?… willing to try anything as it can’t get any worst than not working at all lol..
Many thanks in advance…
Ps, my apologies I have fitted the display upside down on the pics lol
Attachments
-
#2
You can’t always connect colour to colour. from memory, the last guy who had that with a KT controller only had to swap a couple of phase wires — possibly green and yellow, but i don’t know where I got that from or whether I just dreamed it.
Another thing that worked for somebody was changing C2 from 0 to 1.
-
#3

-
#4
-
#5
Pas = nothing
Walk button = info 03
-
#6
Then tried c2 01 and same nothing? 03 info.
Tried resetting the display to factory incase I accidentally moved some values.
And same results no noise no movement at all, just info 03..
Pas doesn’t seem to trigger it, not that it’s doing anything anyway.. it’s only throttle and walk function that triggers «info 03»..
I guess I play with hall wires next? Swapping three colours around but I would off thought mixing the phase wires would of done something??..
Re checked the 9pin plug and it’s right up to the arrows and the line??..
Hope I’m not going to be at this for hours!!.. wish me some luck lol..
Thanks again for your input members
-
#7
I’m lost
-
#8
It can be tested, if you have block connectors then testing is much easier.
Stuff your probes up the back of the throttle /controller connection.
5v should read between 5V & Gnd.
1v or so between Gnd & Sig & 4v — 5v when throttle activated.
Personally I would disconnect the throttle and get the PAS working first.
Check PAS wires to controller connector are in sequence 5v to 5v , Gnd to Gnd, Sig to Sig. If not sure show us the connection. Next tell us which PAS is being used as the parameter setting needs to be of the correct value, other wise PAS will not work. Once working the throttle can be sorted.
-
#9
-
#10
I’m going to start again but work on getting Pas to work.
Fortunately I ordered 2 throttles (half, and thumb) and 2 Pas (8 and 12) they both only plug into on connector (pic) beings as the 8 Pas came with the kit I guess I’m plugging into the right connection?..
But it’s separate from the throttle group?. So I hope I’m using the right connection?..
Here’s some pics.
Attachments
-
#11
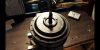
It’s a mxus any ideas how to get into it? If at all possible?..
Also I’m not getting good feeling about this so may aswell as if anyone has a spare motor for sale or know of where I could get one?.
Thank you all
Attachments
-
#12
Attachments

-
#13
Found the problem (smile)
Hi
I’m no expert but I agree, you appear to have found your problem
Cheers
Ian
-
#14
Other wise opt for AKM100c or 128c as a replacement lighter and powerful small hubs.
-
#15
Soldered the wires and all good, had to change c1 value to C1=3 for 12 magnet left hand side crank to get the updated 12 magnet Pas to work.
Excellent thanks again members and hope this helps folks out in the future..

-
#17
-
#18
-
#19
Attachments
-
#20
The various parts that the after-sales service can send you when there is an electrical problem on your e-bike:
-
Controller
-
Pedaling sensor
-
Мотор
-
Screen
-
Cable bundle
There are several mistakes you can run into when using a bike:
-
ERROR 30
-
ERROR 21
-
ERROR 25
-
ERROR 24
Notifier: All errors are displayed on your screen.
First, to troubleshoot, we will open the controller, which is located under the battery (on one of the two sides), where 4 small screws are located. Once opened, you should be able to see the controller with a different é.
The following errors are possible:
-
Error 21 or Error 30: Connection problem (cable not connected properly)
-
Error 24: Motor cable problem (poorly connected or damaged)
-
Error 25: The brake lever is engaged during ignition (i.e. when you turn on the bike and the screen, do not press the brake levers)
There is another error that tells you on your screen that the battery is low while it is full. To fix this problem, you turn off the screen, then press all 3 buttons at the same time (hold for a few seconds until it restarts) and the battery indicator will reappear.
The same operations for LED screens (for simplicity).
We will now see how to connect the new controller of your electric bike bike:
-
Once the controller box is open, remove the old controller so you can plug in the new one.
-
On your new controller, you can see the red wire and the black wire (these two cables are for the battery). So it couldn’t be easier: you connect the red wire to the red wire and the black wire to the black wire (this is the same for all bikes, whether snow bikes, compact bikes, light bikes, work bikes, etc.).
-
The longer cable is connected to the motor. Each cable has an arrow on it. You need to connect the motor cable to the controller cable with the arrows facing each other.
-
Then you need to connect the wiring harness. This is the same cable as the engine, but smaller (same system like fleche la fleche)
-
Connect the cadence sensor (yellow tip) arrow to the arrow.
-
Finally, connect the last wire, which is the rear harness cable. From the controller, the corresponding cable is red and black. Connects to black and purple plug (for newer models). In older models, the cable connects to a plug that has the same cables as them, that is, black and red.
-
Voila, you have a new controller connected to your bike.
We will now see how to replace the pedaling sensor on your Velobecane electric bike:
-
You will receive a pedaling sensor with a crank puller from the after-sales service.
-
Using an 8mm wool wrench, you unscrew the crank.
-
Insert the crank puller, then use a 15 mm open-end wrench to tighten where the nut is, then unscrew with the puller again until the crank is fully extended.
-
Remove the old crank sensor to install a new one, then connect it to the controller. Make sure that the sensor teeth fit well into the crank teeth and that the connection is made with the arrow (arrow).
-
Finally, put the crank back on and screw it tightly.
Finally, we’ll see how to replace the wiring harness on your e-bike bike bike:
-
If the wiring harness fails at the service center, you will receive a cable with multiple connectors.
-
It’s very easy to connect. You should connect the smallest of the thickest controller cables to the same cable you received from the after-sales service (always fleche a fleche).
-
All other plugs on the other side of the cable are on the steering wheel side. You must color-code and connect all cables.
-
The two red cables correspond to the two brake levers, the green one to the shield, and finally the two yellow cables to the horn and front light (always connect arrow cables to arrow)
For more information visit our website velobecane.com and on our YouTube channel: Velobecane
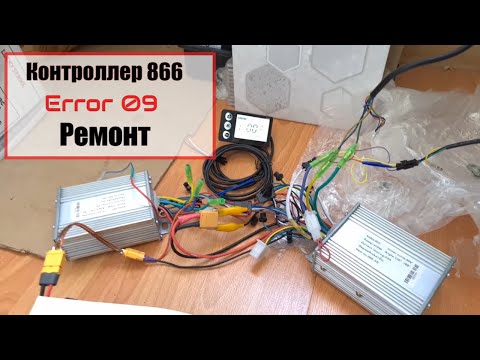
Ремонт контроллера электровелосипеда S866 ошибка 9 e 09 error 009Подробнее
Устранение ошибки 03 на дисплеи LCD3Подробнее
Электровелосипед глючит. Устранение ошибки 01 на дисплеи LCD3Подробнее
Ремонт электровелосипеда Код ошибки Е 07Подробнее
Решил проблему с электровелосипедом (не работал от 48v)Подробнее

Поиск неисправности в электровелосипедеПодробнее
ошибка E 07 комплекта для электрификации велосипедаПодробнее
Сломался электровелосипед. Что делать?Подробнее

частые поломки электро велосипеда и их решения | настройка контроллераПодробнее

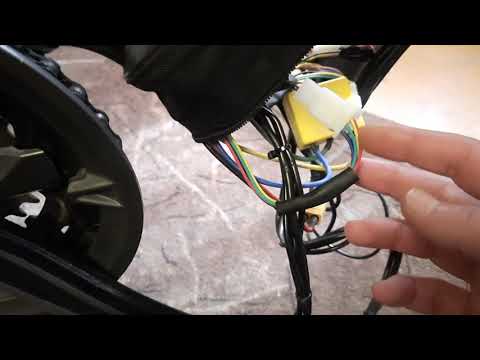
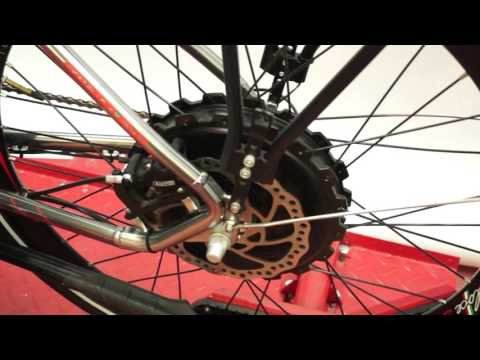
[4К] Ремонт мотор колеса Замена датчиков холлаПодробнее
![[4К] Ремонт мотор колеса Замена датчиков холла](https://img.youtube.com/vi/t69glzm8le0/0.jpg)
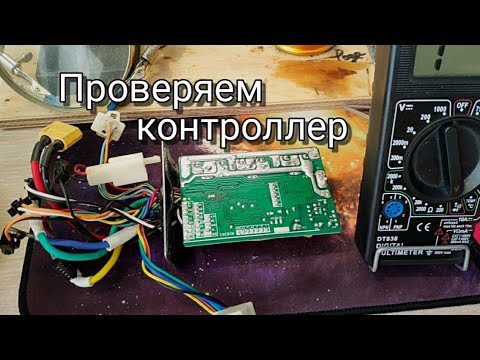
Ремонт контроллера электровелосипедаПодробнее
Проверка неисправностей электровелосипедаПодробнее
Ремонт дисплея электровелосипеда SW900Подробнее

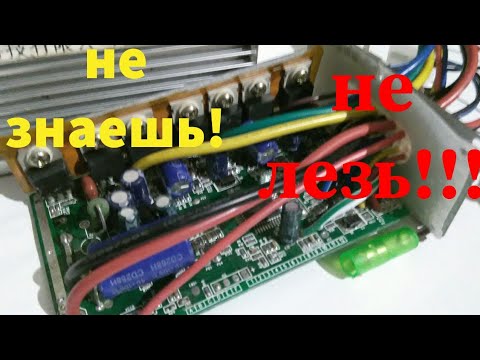
КАК ПРОВЕРИТЬ КОНТРОЛЛЕР / КАК ПРОВЕРИТЬ МОТОР-КОЛЕСО / МЕНЯЕМ МОСФЕТЫ / ЭЛЕКТРОСАМОКАТПодробнее
Ошибка 03 котла NAVIEN.Возможные причины и способы устранения.Подробнее
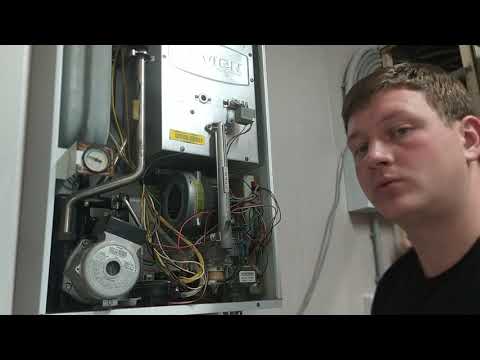
постоянно мигает 03 ошибка котёл kiturami 13 дизельПодробнее
Заводские настройки электровелосипеда через LCD-3 дисплей !!! ПОШАГОВО И ПОДРОБНО !!!Подробнее
Актуальное
